Off-grid solar system sizing is the process of matching every component — panels, batteries, inverter, and charge controller — to your actual energy needs so the system runs reliably without grid power. Get any piece wrong and you either run out of power on cloudy days or overspend on equipment you never use. This step-by-step guide walks you through the entire process using the same method professional installers use, then shows you how to do it automatically with our Solar System Calculator.
Step 1: Calculate Your Daily Energy Load
Start by listing every appliance you will run, along with its wattage and daily hours of use. Multiply watts by hours for each item to get watt-hours per day, then add them all up and divide by 1,000 to get kilowatt-hours per day. This is your daily energy load — the foundation of the entire system.
A typical off-grid home might include LED lighting at 50 watts for 6 hours (300 Wh), a refrigerator at 150 watts for 24 hours (3,600 Wh), ceiling fans at 150 watts total for 10 hours (1,500 Wh), a laptop at 65 watts for 6 hours (390 Wh), a water pump at 375 watts for 1 hour (375 Wh), and a washing machine at 500 watts for 1 hour (500 Wh). That totals 6,665 Wh or about 6.7 kWh per day.
Be honest with your numbers. Undersizing the load estimate is the most common cause of off-grid system failure. If in doubt, add 10 to 15 percent to your total.
Step 2: Size Your Solar Panels
Your solar array must produce enough energy each day to cover your load plus system losses. The formula is: Array size in watts = (Daily kWh × 1,200) ÷ Peak sun hours. The 1.2 multiplier accounts for the 20 percent losses from wiring, heat, dust, and inverter inefficiency.
For the 6.7 kWh home above in a region with 5 peak sun hours: (6.7 × 1,200) ÷ 5 = 1,608 watts. With 585-watt panels, you need 3 panels for a 1.76 kW array. With 450-watt panels, you would need 4 panels for a 1.8 kW array.
Round up to the next whole panel. Oversizing your array slightly is always better than undersizing — excess production in good weather builds battery reserves for cloudy days.
Step 3: Size Your Battery Bank
For off-grid systems, batteries are sized in days of autonomy — the number of consecutive sunless days your bank can sustain your load. One day of autonomy is the minimum; two to three days provides a safety cushion for extended bad weather.
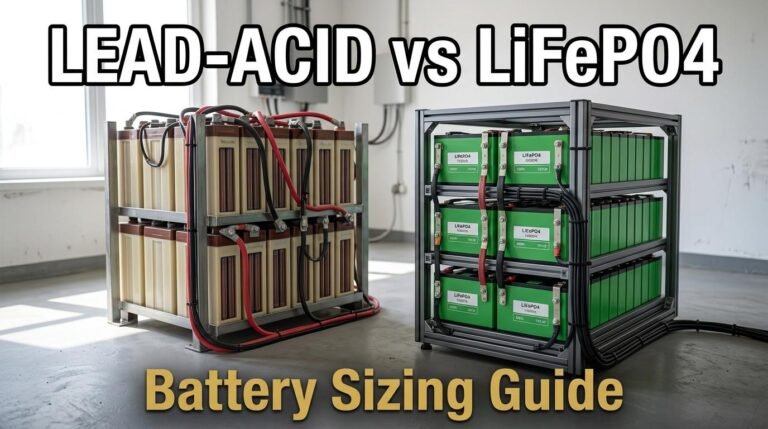
The formula is: Required battery capacity = (Daily kWh × Days of autonomy) ÷ (Depth of discharge × System efficiency). With 6.7 kWh daily use, 1 day of autonomy, lead-acid batteries at 50 percent depth of discharge, and 85 percent system efficiency: 6.7 ÷ (0.50 × 0.85) = 15.8 kWh of rated battery capacity. With LiFePO4 at 90 percent depth of discharge: 6.7 ÷ (0.90 × 0.85) = 8.8 kWh — nearly half.
At a 24-volt system with 200 Ah batteries: lead-acid needs 7 batteries (4 in series for 48V would need a different configuration); LiFePO4 needs 4. The chemistry choice alone can halve your battery cost and physical footprint.
Step 4: Size Your Inverter
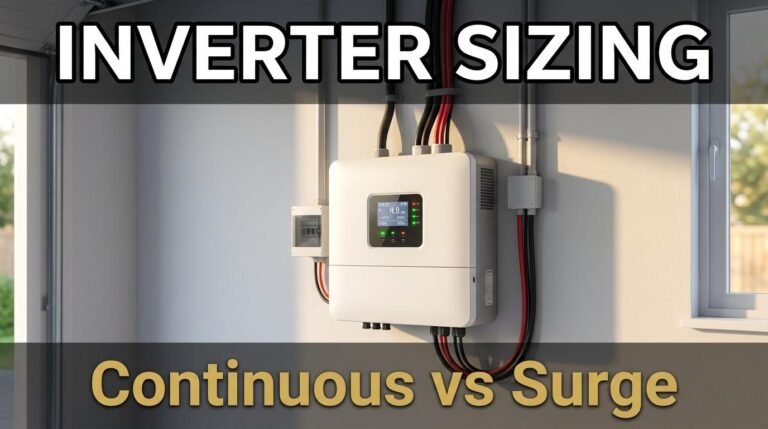
Your inverter must handle two things: the continuous load of everything running simultaneously, and the worst-case surge when the largest motor starts. Add up the running watts of all appliances that could operate at the same time, add 25 percent headroom, then check whether any single motor’s startup surge (typically 3 times running watts) exceeds that figure.
For the example home: continuous load is about 1,290 watts. With 25 percent headroom that is 1,613 watts, suggesting a 2 kVA inverter. But the water pump surges to 1,125 watts at startup, pushing peak to 2,415 watts. A 3 kVA inverter is the safe choice. If air conditioning were added at 1,200 watts running with a 3x surge, a 5 kVA inverter would be needed.
Step 5: Size Your MPPT Charge Controller
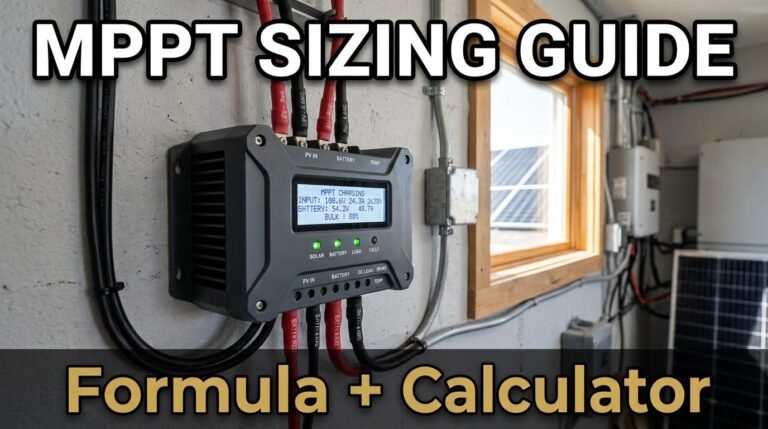
The charge controller sits between your panels and batteries, regulating the charging current. An MPPT controller is more efficient than PWM and is the standard for any system above 200 watts. The sizing formula is: Controller amps = (Array watts ÷ Battery voltage) × 1.25. The 1.25 factor provides a 25 percent safety margin per electrical code requirements.
For a 1.76 kW array on a 24-volt system: (1,760 ÷ 24) × 1.25 = 91.7 amps. Round up to the next standard size: a 100-amp MPPT controller. Standard sizes are 30, 40, 60, 80, and 100 amps.
Step 6: Add It Up — Total System Cost
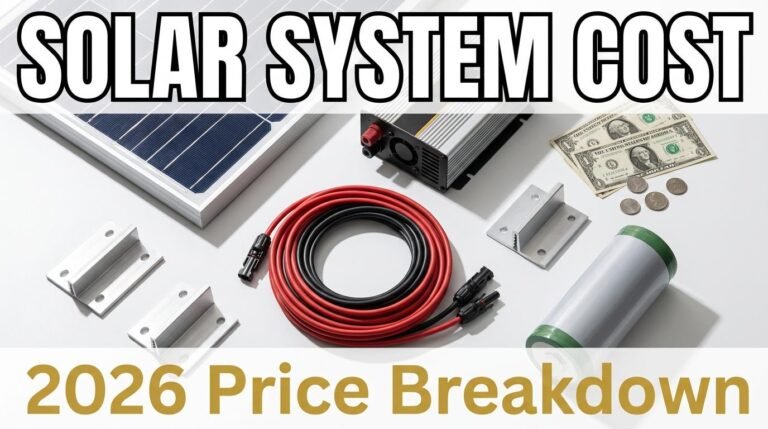
Once every component is sized, multiply each by its unit cost, add 10 to 15 percent for wiring and mounting hardware, and compare the lead-acid build against the LiFePO4 build — both upfront and over 10 years. This final comparison almost always reveals that LiFePO4 is cheaper over a decade despite the higher day-one price.
Or Let the Calculator Do All Six Steps
Everything above is built into our Solar System Calculator. Enter your appliances or your monthly bill, choose your panel wattage and region, pick your battery size and chemistry, and the tool walks you through all six steps — panels, batteries, inverter, charge controller, and cost — in about five minutes. It even shows you the roof area needed and the electricity units each panel generates per day.