RV solar is the most common entry point into off-grid energy — and the most forgiving to install yourself. No permits, no utility interconnection, no structural engineering. You mount panels on the roof, wire them to a charge controller, connect the controller to your battery bank, and plug an inverter into the bank for AC power. The entire system can be installed in a weekend with basic tools. But sizing it wrong means either wasting money on capacity you do not need or running out of power on your second night off-grid.
How to Size Your RV Solar System
Start with your load. A typical RV running LED lights, a 12V refrigerator, phone and laptop charging, a water pump, and a vent fan uses 30 to 50 Ah per day at 12V — roughly 360 to 600 Wh. Add a residential-style refrigerator or a microwave and the daily consumption jumps to 80 to 120 Ah (960 to 1,440 Wh). Air conditioning pushes it past 200 Ah per day and is generally not practical on solar alone without a very large system.
Use our Appliance Wattage Database to find the wattage of each item in your RV, then plug them into the Solar System Calculator — it sizes the panels, battery, charge controller, and inverter in one pass.
Panel Sizing for RVs
The rule of thumb: you need 200 to 400 watts of panels for a basic RV setup (lights, fridge, electronics) and 600 to 1,000 watts for a full-time setup with a residential fridge, multiple devices, and occasional microwave use. Each 200W panel produces roughly 800 to 1,000 Wh per day in good sun (4 to 5 peak sun hours) — so two 200W panels cover the 30 to 50 Ah daily load of a basic setup with a comfortable margin.
Panel placement matters more on an RV than on a house. Rooftop panels lie flat (no tilt) unless you add adjustable mounts, which reduces output by 10 to 15 percent compared to an optimally tilted residential array. Partial shading from AC units, antennas, and vent covers disproportionately affects string-wired panels — use an MPPT controller (not PWM) to minimize shading losses, and consider wiring panels in parallel rather than series to isolate shaded panels from unshaded ones.
Battery Bank for RVs
LiFePO4 has become the standard RV battery in 2026, and the economics are clear: a single 100Ah LiFePO4 battery delivers 1,026 usable Wh (see our Battery Backup Calculator for exact numbers), weighs about 25 pounds, lasts 4,000-plus cycles, and fits in the same space as the lead-acid battery it replaces. Two 100Ah LiFePO4 batteries give most RVers two to three days of autonomy without charging — enough to cover cloudy days and shaded campsites without anxiety.
For a 12V system (standard in most RVs), wire batteries in parallel to increase capacity while maintaining 12V. For larger systems that need to run a 2,000W or larger inverter efficiently, consider upgrading to 24V (two batteries in series) to halve the current and allow thinner, cheaper cables.
Charge Controller Selection
MPPT controllers are the right choice for RV solar — they harvest 15 to 30 percent more energy than PWM controllers, especially in partial shade and cloudy conditions, which is exactly when you need every watt. Size the controller using the formula: panel watts ÷ battery voltage × 1.25 safety factor. A 400W array on a 12V bank needs 400 ÷ 12 × 1.25 = 42A — a 40A or 50A MPPT controller. Our Solar System Calculator outputs the exact controller amperage for your configuration.
Wiring Your RV Solar System
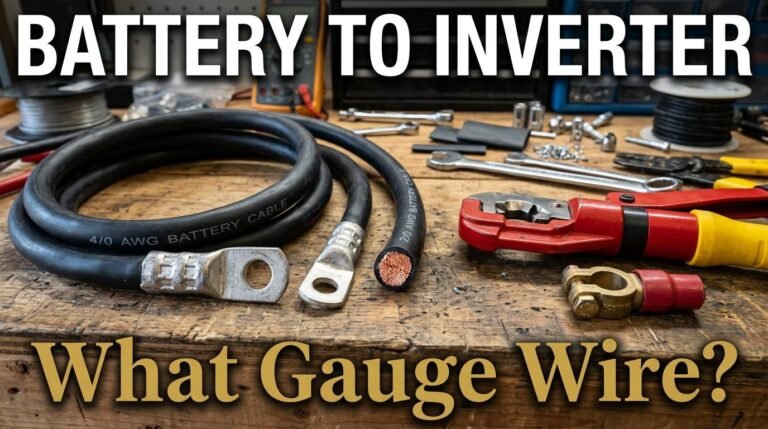
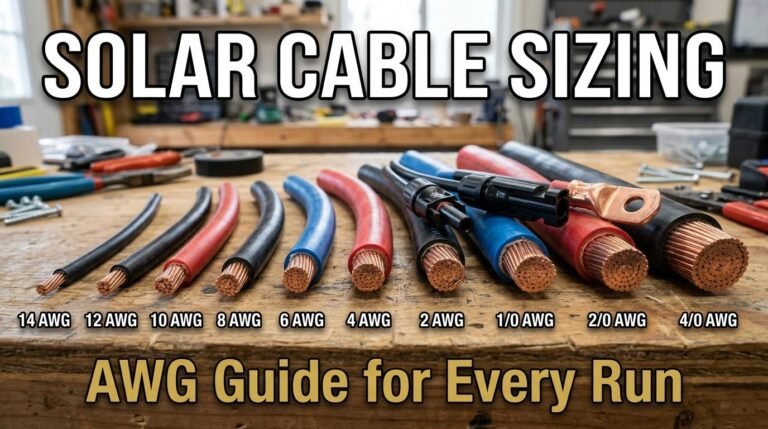
The most critical and most-overlooked part of an RV solar installation is the wire sizing. Undersized wire wastes energy as heat, creates fire risk, and fails inspection at RV service centers. DC current at 12V is high — a 400W system draws 33 amps, and the cable from the charge controller to the battery bank must handle that continuously without excessive voltage drop. Use our Wire Gauge Calculator to determine the correct AWG for every cable run in your system — enter amps, length, and voltage, and it tells you the minimum wire gauge and the voltage drop at that gauge.
Use MC4 connectors for the panel-to-combiner wiring (weather-rated), properly fused busbars or distribution blocks for the DC system, and appropriate terminal lugs crimped with a hydraulic crimper (not pliers) for battery connections. Every positive wire needs an appropriately rated fuse or breaker.
Total Cost for RV Solar
A basic 200W RV solar kit with a 30A MPPT controller, wiring, and mounting hardware costs 400 to 600 dollars (panels and controller only — battery separate). A 400W kit costs 700 to 1,000 dollars. Add a 100Ah LiFePO4 battery at 200 to 300 dollars, and a 1,000W pure sine wave inverter at 100 to 200 dollars. A complete 400W system with one 100Ah LiFePO4 battery and a 1,000W inverter runs 1,000 to 1,500 dollars — all DIY-installable in a weekend.
Compare this to generator fuel costs: a typical RV generator burns 0.5 to 1 gallon per hour. At 3.50 dollars per gallon, running a generator 4 hours per day costs 7 to 14 dollars daily — 210 to 420 dollars per month. A 1,200 dollar solar system pays for itself in three to six months of boondocking. Our Solar vs Generator Calculator runs this comparison with your exact numbers.
⚡ Free Solar Sizing Cheat Sheet
Get our one-page guide to sizing panels, batteries and inverters — plus weekly solar tips. No spam, unsubscribe anytime.
By subscribing you agree to our privacy policy. We'll email your guide and occasional solar tips — never spam.