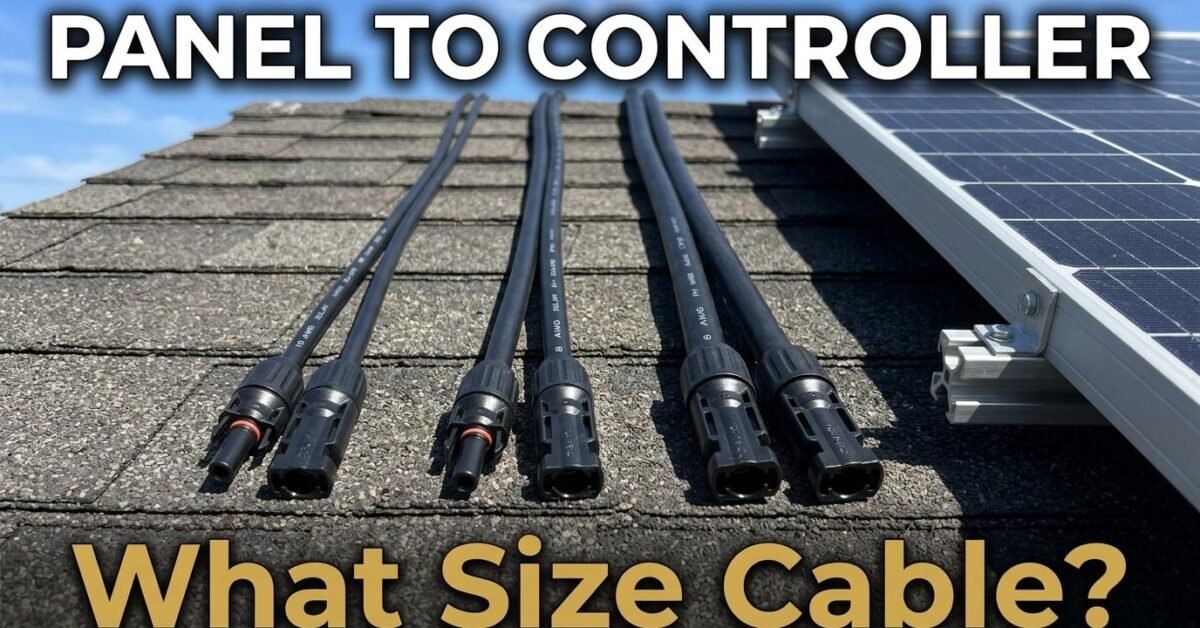
The cable from your solar panels to the charge controller carries the full array current at the panel’s operating voltage. The correct size depends on three factors: the current in amps, the cable length in meters, and the acceptable voltage drop. Get it wrong and you lose 5 to 15 percent of your solar production as waste heat in the cable — or worse, create a fire hazard. This guide gives you the sizing for every common configuration.
The Sizing Rule
For the panel-to-controller cable run, the industry standard is a maximum 3 percent voltage drop. The current is your panel array’s maximum power current (Imp) — not the short-circuit current (Isc), which is higher but only occurs momentarily. The voltage is the panel string’s operating voltage (Vmp), not the open-circuit voltage (Voc).
Quick Reference Table (3% Voltage Drop, Copper, 12V Panels)
| Array Current | 1-2m Run | 3m Run | 5m Run | 8m Run | 10m+ Run |
|---|---|---|---|---|---|
| 10A (200W panel) | 14 AWG | 12 AWG | 12 AWG | 10 AWG | 10 AWG |
| 20A (400W array) | 12 AWG | 10 AWG | 10 AWG | 8 AWG | 6 AWG |
| 30A (600W array) | 10 AWG | 10 AWG | 8 AWG | 6 AWG | 6 AWG |
| 40A (800W array) | 10 AWG | 8 AWG | 6 AWG | 6 AWG | 4 AWG |
| 50A (1000W array) | 8 AWG | 8 AWG | 6 AWG | 4 AWG | 4 AWG |
These values assume 18V operating voltage (typical for “12V” panels). For higher-voltage strings (24V, 48V panels), the same current allows thinner cables because the percentage voltage drop tolerates a larger absolute drop. Use our Wire Gauge Calculator for exact results at any voltage and length.
The Formula
Minimum cable cross-section (mm²) = (2 × Length × Current) ÷ (Voltage drop × 56). The “2” accounts for the round-trip distance (positive out, negative return). The “56” is the conductivity of copper. Voltage drop = Panel Vmp × 0.03 (for 3 percent). Example: 30A, 5-meter run, 18V panels. Drop allowed: 18 × 0.03 = 0.54V. Cable = (2 × 5 × 30) ÷ (0.54 × 56) = 300 ÷ 30.2 = 9.9 mm². That is 8 AWG (8.4 mm²) minimum — but 9.9 exceeds 8.4, so go up to 6 AWG (13.3 mm²) for safety.
MC4 Connectors and Cable Compatibility
Solar panels use MC4 connectors, which are typically pre-crimped onto 10 AWG or 12 AWG solar-rated cable. If your calculation requires thicker cable (8 AWG or 6 AWG), you have two options: use a combiner box near the panels where the MC4 cables connect to the thicker main run, or replace the MC4 pigtails with higher-gauge MC4-compatible connectors. Never splice different cable gauges inline without a junction box — exposed connections corrode and create resistance hot spots.
Parallel vs Series Panel Wiring and Cable Impact
How you wire your panels affects the cable sizing. Two 200W panels in parallel double the current (from 11A to 22A per string) while keeping the voltage the same — requiring thicker cables. The same two panels in series double the voltage (from 18V to 36V) while keeping the current at 11A — allowing thinner cables. Series wiring also reduces the MPPT controller’s current requirement (since the current at the battery side is proportional to the ratio of PV voltage to battery voltage). For long cable runs (over 5 meters), wiring panels in series is almost always better because the thinner cable requirement saves significant cost. However, series strings are more affected by shading — if one panel in a series string is shaded, the entire string’s output drops, whereas parallel panels operate independently.
Conduit and Cable Protection
Outdoor cable runs from rooftop panels should be in UV-resistant conduit (PVC or metal) to protect against physical damage, animal chewing, and UV degradation. The cable inside the conduit should be loose (not pulled tight) to allow for thermal expansion. Leave a drip loop at each end where the cable exits the conduit to prevent water from following the cable into junction boxes or the controller enclosure. These details seem minor but are the difference between a 25-year installation and a 5-year failure.
Common Mistake: Using Indoor Cable Outdoors
The cable from panels to controller is typically exposed to sun, rain, and temperature extremes. Use UV-rated solar cable (often marked “PV Wire” or “USE-2”) for any outdoor run. Standard THHN house wire degrades in UV exposure within 2 to 3 years, becoming brittle and cracking — exposing live conductors. The cost difference is minimal; the safety difference is substantial.
For a complete guide covering all three cable runs in a solar system (panel-to-controller, controller-to-battery, battery-to-inverter), see our Solar Cable Sizing Guide.
When to Hire an Electrician for Cable Runs
If your panel-to-controller run is straightforward (roof to wall-mounted controller, under 5 meters, accessible conduit path), most competent DIY builders handle it successfully. If the run is long (over 8 meters), passes through walls or attics, requires penetrating fire-rated barriers, or involves junction boxes in hard-to-reach locations, hire a licensed electrician for the cable run. The panels, racking, and controller mounting are mechanical work that most handy homeowners can do; the electrical connections and cable routing are where code compliance and safety matter most. A hybrid approach — you do the mechanical work, an electrician does the wiring — captures most of the DIY savings while keeping the critical work in professional hands.